Peters Township High School will be closed for four days, with all students receiving remote instruction starting Tuesday, the school district says.
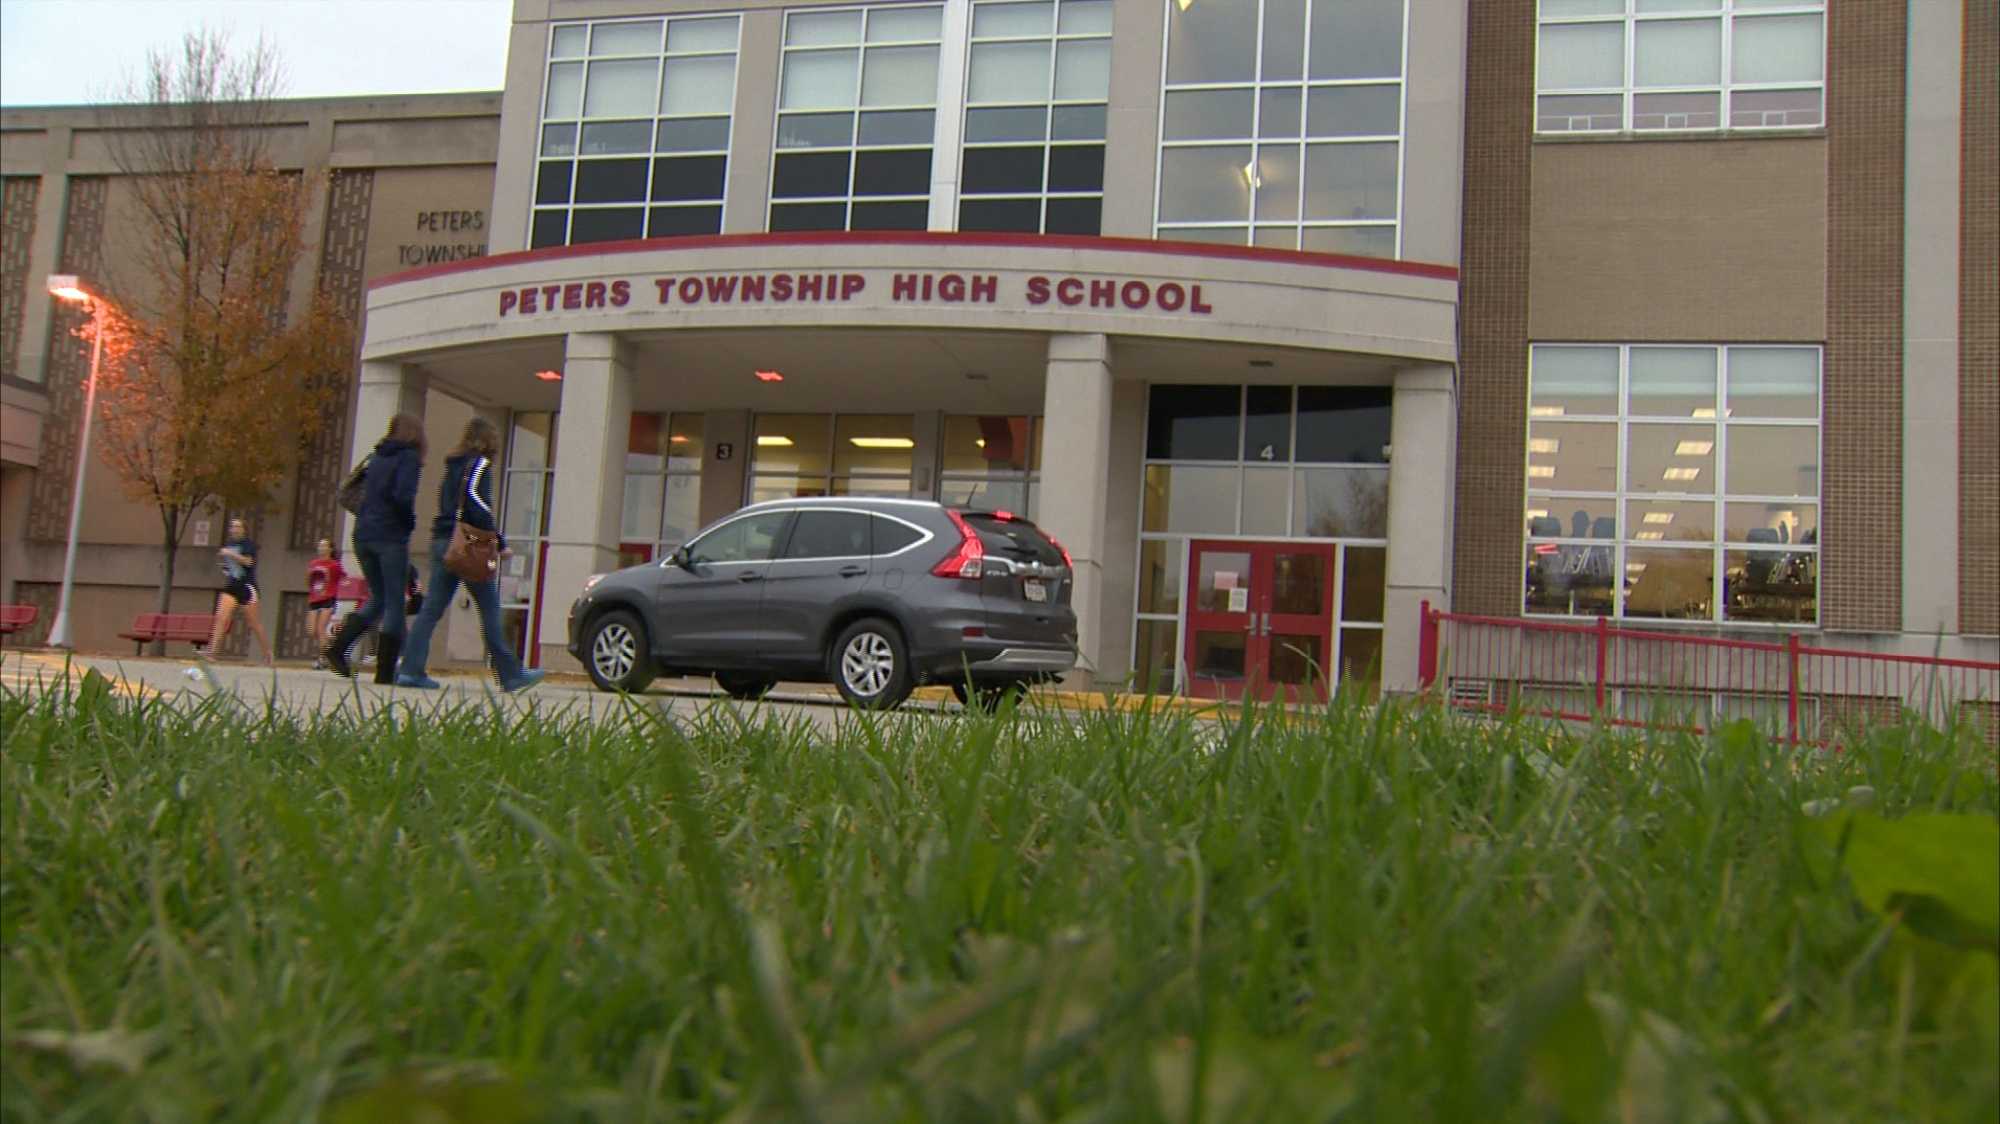
Peters Township High School will be closed for four days, with all students receiving remote instruction starting Tuesday, the school district says.

I've been writing Laundry Files stories since 1999, and I recently passed the million word mark. That's a lot of stuff! And it occurs to me that while some of you have been following them from the beginning, a lot of people come to them cold in the shape of one story or another.
So below the fold I'm going to explain the Laundry Files time line, and give a running order for the series—including short stories as well as novels.
Typographic conventions: story titles are rendered in italics (like this). Book titles are presented in boldface (thus).
Publication dates are presented like this: (pub: 2016). The year in which a story is set is presented like so: (set: 2005).
The list is sorted in story order rather than publication order.
The Atrocity Archive (set: 2002; pub: 2002-3)
The Concrete Jungle (set: 2003: pub: see below)
The Atrocity Archives (set 2002-03, pub: 2003 (hbk), 2006 (trade ppbk))
The Jennifer Morgue (set: 2005, pub: 2007 (hbk), 2008 (trade ppbk))
Pimpf (set: 2006, pub: collected in The Jennifer Morgue)
Down on the Farm (novelette: set 2007, pub. 2008, Tor.com)
Equoid (novella: set 2007, pub: 2013, Tor.com)
The Fuller Memorandum (set: 2008, pub: 2010 (US hbk/UK ppbk))
Overtime (novelette: set 2009, pub 2009, Tor.com)
Three Tales from the Laundry Files (ebook-only collection)
The Apocalypse Codex (set: 2010, pub: 2012 (US hbk/UK ppbk))
A Conventional Boy (set: ~2011-12, not yet written)
The Rhesus Chart (set: spring 2013, pub: 2014 (US hbk/UK hbk))
Fifth novel, first of a new cycle remixing contemporary fantasy sub-genres (I got bored with British spy thriller authors). Subject: Banking, Vampires, and what happens when an agile programming team inside a merchant bank develops PHANG syndrome. First to be published in hardcover in the UK by Orbit.
Note that the books are now set much closer together. This is a key point: the world of the Laundry Files has now developed its own parallel and gradually diverging history as the supernatural incursions become harder to cover up. Note also that Bob is powering up (the Bob of The Atrocity Archive wouldn't exactly be able to walk into a nest next of vampires and escape with only minor damage to his dignity). This is why we don't see much of Bob in the next two novels.
The Annihilation Score (set: summer/autumn 2013, pub: 2015 (US hbk/UK ppbk))
The Nightmare Stacks (set: March-April 2014, pub: June 2016 (US hbk/UK ppbk))
The Delirium Brief (set: May-June 2014, pub: due June 2017 (US hbk/UK ppbk))
The Labyrinth Index (set: winter 2014, pub: not confirmed, not yet written)
That's all for now. I'll attempt to update this entry as I write/publish more material.
Google has announced that its Nik Collection of photo editing plug-ins are now available for free. Google says that the decision to make the collection free came about as a result of the company shifting focus to its set of mobile photo editing tools:
Photo enthusiasts all over the world use the Nik Collection to get the best out of their images every day. As we continue to focus our long-term investments in building incredible photo editing tools for mobile, including Google Photos and Snapseed, we've decided to make the Nik Collection desktop suite available for free, so that now anyone can use it.
You may recall, the collection of desktop photo editing plug-ins came under Google's purview when the search giant acquired Snapseed developer Nik Software in 2012. In all, it includes seven plug-ins for desktop programs like Photoshop, Lightroom and Aperture.
For those who purchased the plug-ins prior to today, Google says that it will automatically start issuing refunds in the coming days. In the meantime, you can check out and download the full collection for free now.
Like I did last year, I made a simple progressive calendar for myself to use in my studio — and if you want to use it too, you can download it for free! Here’s the 6-page PDF.
Longtime readers know about my fondness for the “progressive” style of calendar (a term I think I made up), which leaves no unnecessary gaps between months and thus more accurately mimics how human beings experience the phenomenon of time.
I made this calendar super big and clear, so it can be read at a glance from across the room. Since most of the events I attend (conventions and so on) occur on weekends, I prefer to group the weekend days together on the right side.
One change I made from last year is that I didn’t indicate any holidays! I figure anyone who’s willing to print out and hang a calendar like this can also figure out how to mark off whatever holidays are relevant to their country, province, subculture, etc. — and also might appreciate not being bothered by possibly irrelevant information. In other words, by not marking holidays, this single 33-kilobyte PDF file becomes universally usable worldwide.
The PDF is six pages long and, just because of how many dates fit onto a full page, runs all the way through mid-February 2017. In the picture above, I’ve trimmed the tops off pages 2, 3, 5, and 6, so as to present the entire year as two impassive columns.
OR, GO SMALL: I’m also a big fan of David Seah’s Compact Calendar, which applies the progressive concept to a single sheet of paper. This one’s super handy for planning out a whole year’s events in broad strokes. Check out and download his version here!
David’s got a ton of other cool printable productivity tools on his site, too — I’ve played around with quite a few of them in the past, instead of doing actual work. Enjoy!
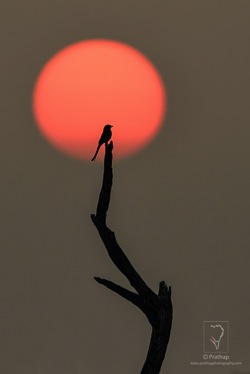
As a beginner photographer, I was swaying around too much at times not knowing what was good and what was not. It took me several years, and countless hours, to really understand the right path and to focus my energy on the right techniques. If this sounds familiar to you, then here are seven incredible tips that will help relieve you of the dilemma a beginner faces in photography.
Note: These tips are in no way comprehensive but are definitely a good starting point
One of the biggest mistakes you could do is to invest all your savings to buy expensive gear. It will soon prove to be a burden and you might end up selling it if you are not able to pull out photographs that are good enough.
Will you be able to make good photographs from the very beginning? Chances are quite low. Even if you do, you may not be able to justify your purchase, because you do not know if it was the right choice for you or not. Only with experience, will you know which is the best camera or the lens for your photographic needs.
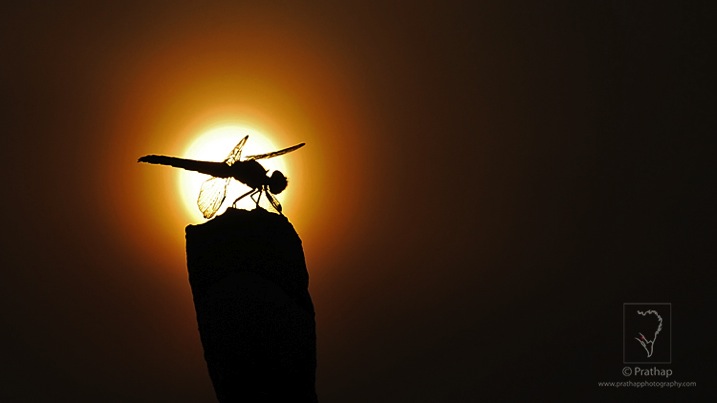
My recommendation would be to buy a camera that is affordable to you, and focus your time and energy in building your photography skills as a beginner. That will go a long way in your photography journey.
Settings found on cameras, especially DSLRs, can be overwhelming. To be honest, I haven’t used more than handful of settings to date. Why? Because that’s all I have needed to know!
Most important of the settings are:
If you learn to use the above settings without even thinking, then you will make your camera an extension of yourself, thereby having much more time for creative expression.
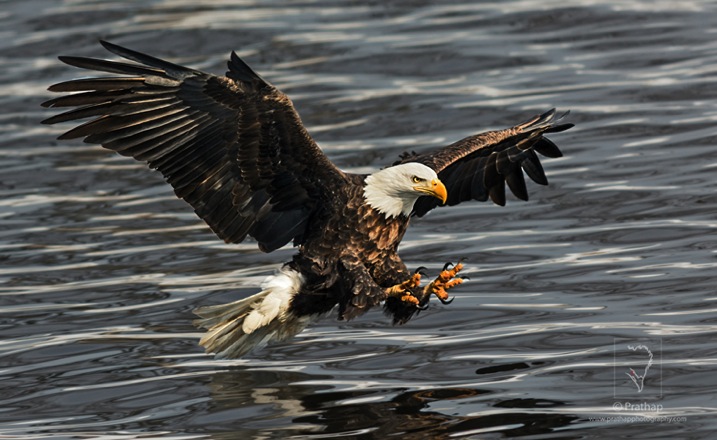
Making a proper exposure under any conditions is the key to making good quality photographs. Exposure is a combination of three pillars of photography called Aperture, Shutter Speed, and ISO. Exposure Triangle below depicts it in an easier way.
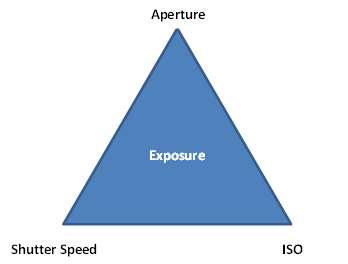
The amount of light passing through the lens opening (Aperture) for a specified duration of time (Shutter Speed) for which the camera sensor, set at a particular sensitivity (ISO), is open is called the Exposure.
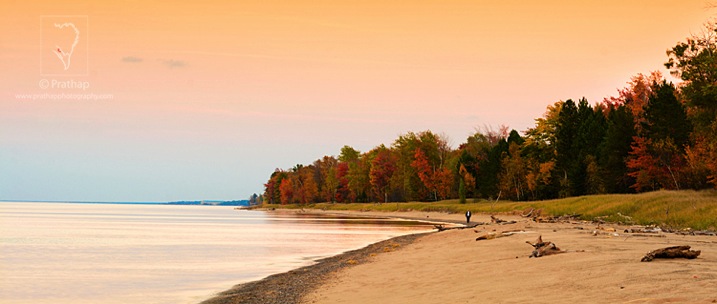
Changing the value of any of these parameters, results in a change in exposure. That is why it is very important to understand aperture, shutter speed, and ISO to get a strong hold on exposure.
DSLRs are generally precision machines that give you more control than other compact cameras. You must take control of it, and get it to work the way you want.
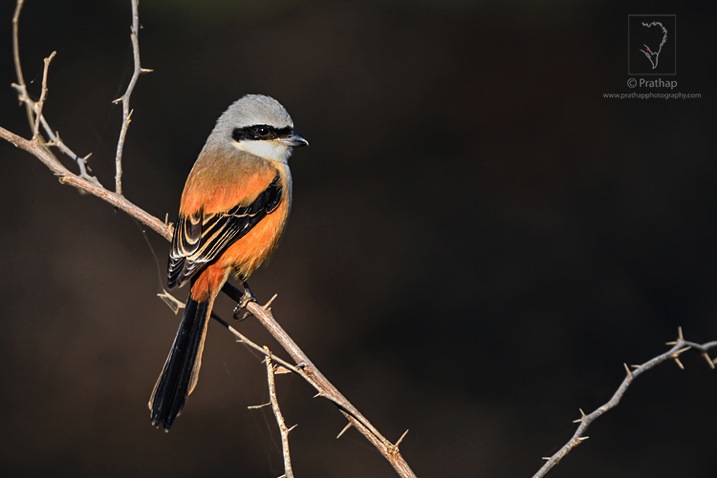
Learn semi-automatic modes like Aperture Priority or Shutter Priority to get out of Auto mode. Aperture Priority mode allows you to change the aperture while the other settings like shutter speed and ISO (if it is on Auto ISO mode) are chosen by the camera. Learn the effects of aperture on the end results using Aperture Priority. See the impact of depth-of-field as you change the aperture.
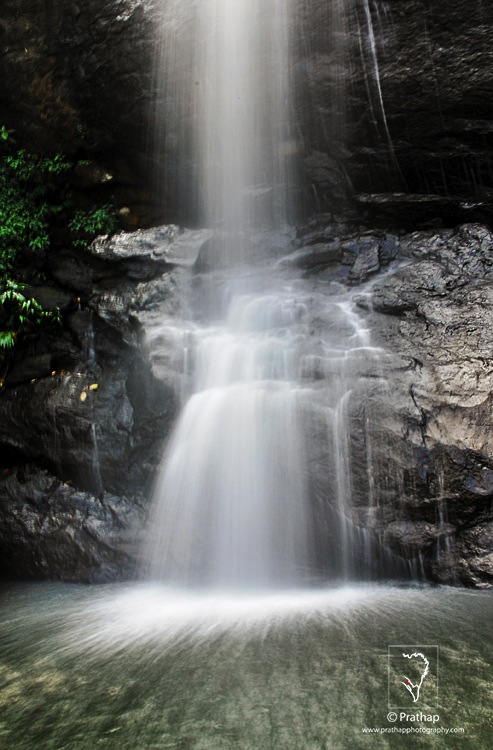
Shutter Priority mode allows you to change the shutter speed while the other settings like aperture and ISO (if it is on Auto ISO mode) are chosen by the camera. See how Shutter Priority helps you to change shutter speeds and see the effect of motion blur and freeze the action.
Sometimes, you may end up getting an overexposed or underexposed image while using semi-automatic modes. Exposure compensation technique allows you to compensate for the exposure.
Once you are comfortable with Aperture and Shutter Priority, getting proficient with Manual mode is quite easy. Manual mode gives you complete control of all three parameters – aperture, shutter speed, and ISO – to make an exposure.
One of the most overlooked feature of DSLRs, and some advanced compact cameras, is the RAW file format mode. In RAW mode, there is no compression applied to the sensor data, nor there is processing done (except little bit in some cases) like color saturation, contrast and sharpness.
JPEG format, the default mode, is compressed with different settings offering FINE to NORMAL quality. Compression means there is loss of data since it reduces the size of the photograph (or data) drastically. For instance, if your camera RAW file is 24 MB then you might end up getting a 8 or 9 MB file if you use FINE JPEG mode and it may be just 4 or 5 MB in NORMAL JPEG mode.
The amount of detail that a RAW file has may give you best possible result in terms of details in the shadow as well as in the highlight regions, considering that you have exposed the scene properly. Though there is an overhead of post-processing needed to convert a RAW file to a readable format like TIFF or JPEG in software, the end result is well worth the effort.
Another important aspect of using RAW format is that you can set the exposure compensation (within limits) and the white balance in post-processing without actually losing any data.
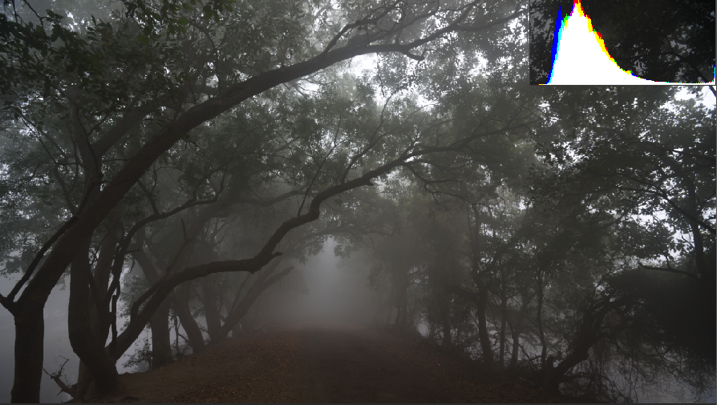
The image below has overexposed highlights as shown in the histogram.
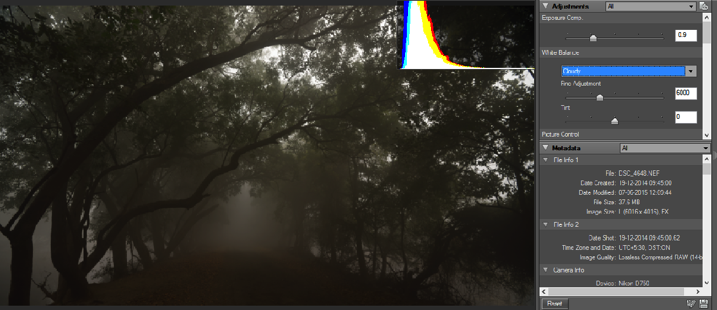
Using the Exposure Compensation tab I have recovered all the highlights, keeping the details in shadow intact. Also, I have changed the White Balance to Cloudy to get a warmer tone to the entire photograph.
Here is the processed photograph from of the RAW file shown above. Isn’t it amazing to see how much information a RAW file can hold!
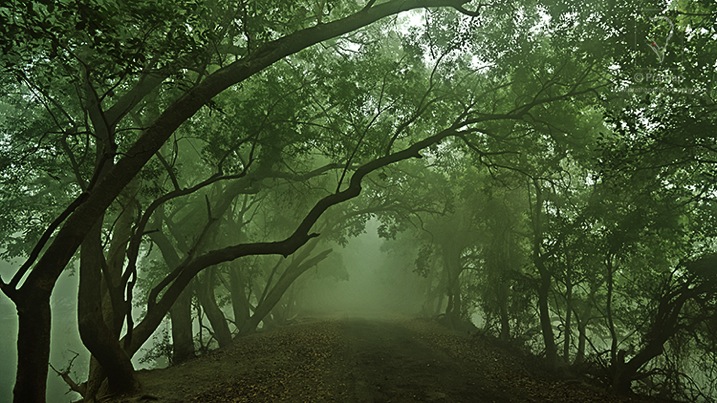
As a beginner photographer, this might sound overwhelming but it is very easy if you consider the numerous advantages of using RAW format over JEPG format.
Histograms are probably the most useful tool, apart from TTL (Through The Lens) metering, that digital cameras possess.
A histogram is a graphical representation of the light or color distribution in a photograph. It is a plotted with x-axis showing the light intensity value or the color value (usually a number between 0 and 255) and y-axis showing the frequency of occurrences of that particular value.
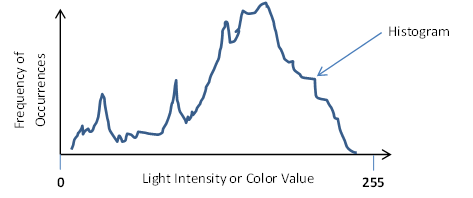
Your camera’s LCD shows the histogram next to each photograph that you’ve taken. Though you could make out if the photograph is properly exposed or not by looking at it, it does not always tell you the details present in different areas of the image. Also, it isn’t possible to make out the clipped blacks (no details in the darker regions) or washed-out highlights (no details in the brighter regions) on the small LCD display, especially on bright sunny days.
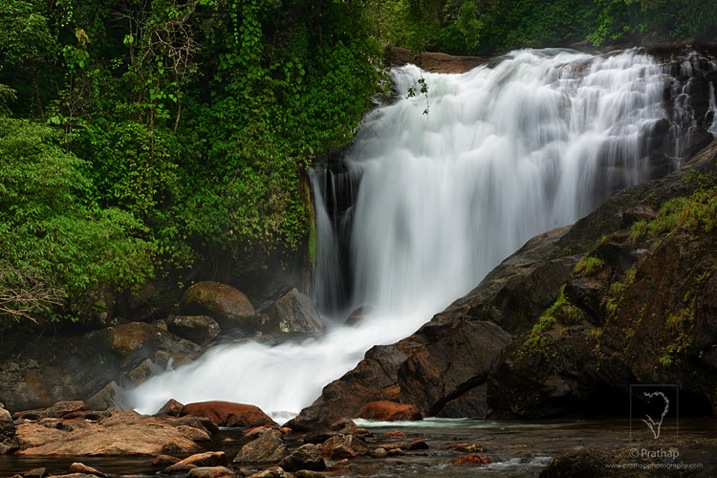
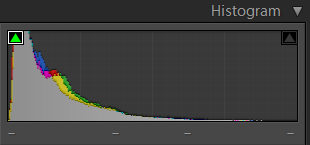
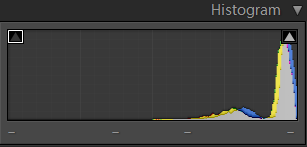
The histogram, on the other hand, gives you a fair idea of the distribution of the details in dark, shadow, mid-tone, highlight and bright regions. Below screenshots show one such example:
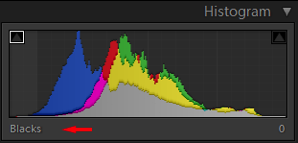 |
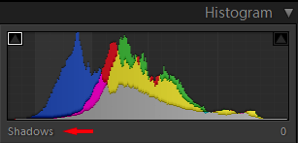 |
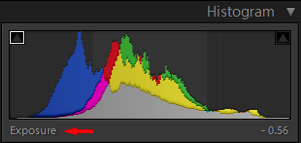 |
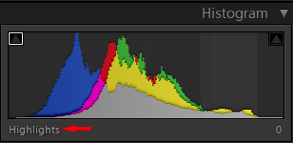 |
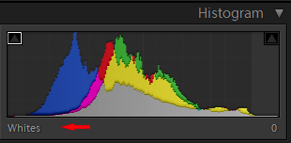
If the histogram is skewed towards the extreme left, then the image is underexposed.
If the histogram is skewed towards the extreme right, then the image is overexposed.
A properly exposed histogram is the one which does not have the clipped blacks (extreme left) or overexposed highlights (extreme right).
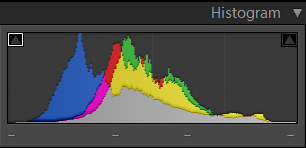
Though at times an image could be intentionally underexposed (to get a dark background in case of portraits) or overexposed (in case of sunrise/sunset photography where capturing details in the sun is not be possible) to get certain artistic impact.
One of the most often committed mistakes of beginner photographers is to spend a whole lot of time reading, debating, dreaming about the camera and accessories.
But photography is all about light and composition. If there is no light, there is no photograph. No matter how advanced or expensive your equipment is, at the end of the day it is you who have to take the photograph. At the end of the day, how you take the photograph, matters more than the camera or the lens you use.
If you see a masterpiece of Ansel Adams, would you ask which equipment did he use, or would you immerse yourself in the beauty of the photograph?
The skillful use of light and composition is what makes a great photograph. Learning to see the light and how it models the scene around you should be the first step in learning photography. Take note of how light changes the look and feel of the same subject in the course of the day.
Quality of light is best during early (two hours post sunrise) and late hours (one hour before sunset) of the day. Pre-dawn and post-dusk hours can help you witness, and photograph, some of the most spectacular landscape photographs.
Direction of the light could be frontal, side or backlit depending on where the sun is located relative to the subject. Each has its own application and should be studied thoroughly.
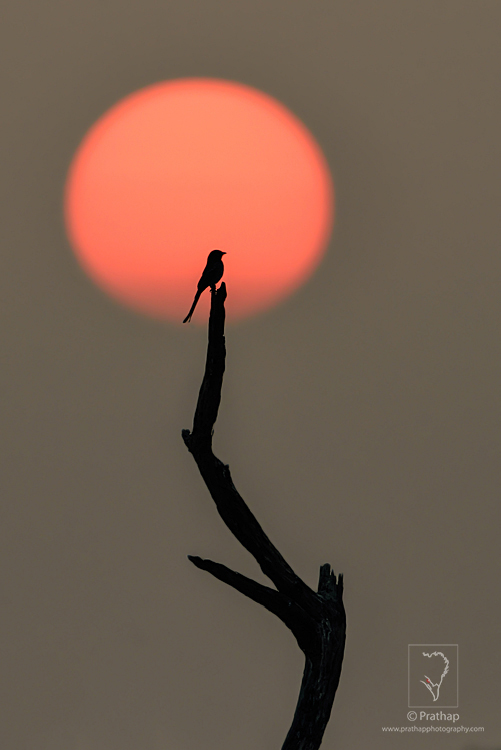
Composition is the key differentiator between a bad and a good photograph. A photograph that is carefully composed demands viewers’ attention as opposed to a snapshot. Photography composition is a way of organizing the elements in a scene to make a statement that is understood by the viewer. The Rule of Thirds is one of the best photography composition techniques that will quickly improve your photography.
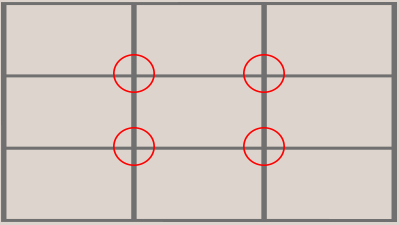
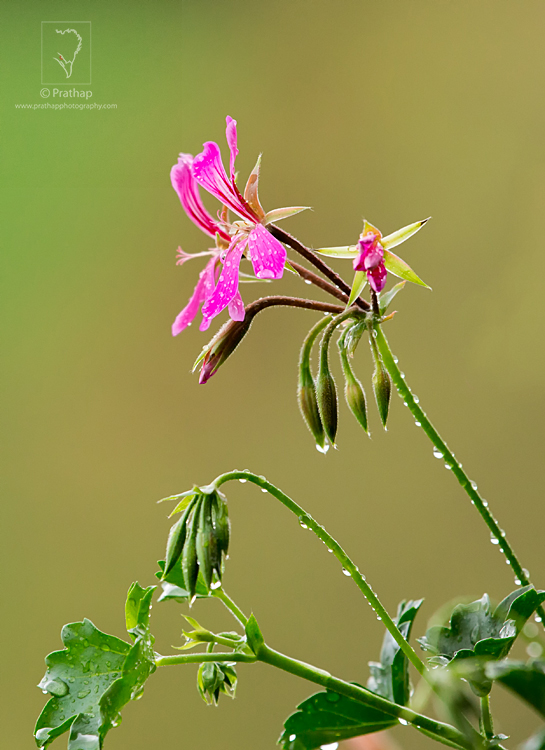
By keeping the subject on one of these four power points (circled in red) will yield a more dynamic photograph, because there is a visual tension created due to uneven negative space.
I hope you enjoyed reading this article and got some good ideas about the concepts that you should focus on as a beginner in photography. Have a great time!
The post 7 Incredible Tips for Beginner Photographers by Prathap DK appeared first on Digital Photography School.

Neil deGrasse Tyson is taking his popular “StarTalk Radio” podcast to late-night television! The famed astrophysicist, director of the Hayden Planetarium, host of “Cosmos” and spontaneous movie critic has landed a spot on National Geographic Channel.
The show will continue along the same vein as the current podcast: An enlightening and entertaining blend of popular culture (there’s often a comedian guest co-host) and science. And according to the Hollywood Reporter, Tyson’s science buddy Bill Nye will be given a minute-long rant during each show, à la Andy Rooney on “60 Minutes.”
“‘Cosmos’ allowed us to share the awesome power of the universe with a global audience in ways that we never thought possible,” Tyson told those at the Television Critics Association press tour. “To be able to continue to spread wonder and excitement through ‘Star Talk,’ which is a true passion project for me, is beyond exciting. And National Geographic Channel is the perfect home as we continue to explore the universe.”
The show will debut in April, the Hollywood Reporter writes, in conjunction with the special “Hubble’s Cosmic Journey.”